>>>>>>>>>>>>WARNING<<<<<<<<<<<<< this guide is as yet incomplete, it should be finished soon.
>>>> N.B. These instructions are correct at the time of writing (August 2020). If Microsoft or Github change their services these instsructions may become out of date. If you think these instructions need updating please leave a comment or email datashield@ncl.ac.uk ! <<<<<<<<
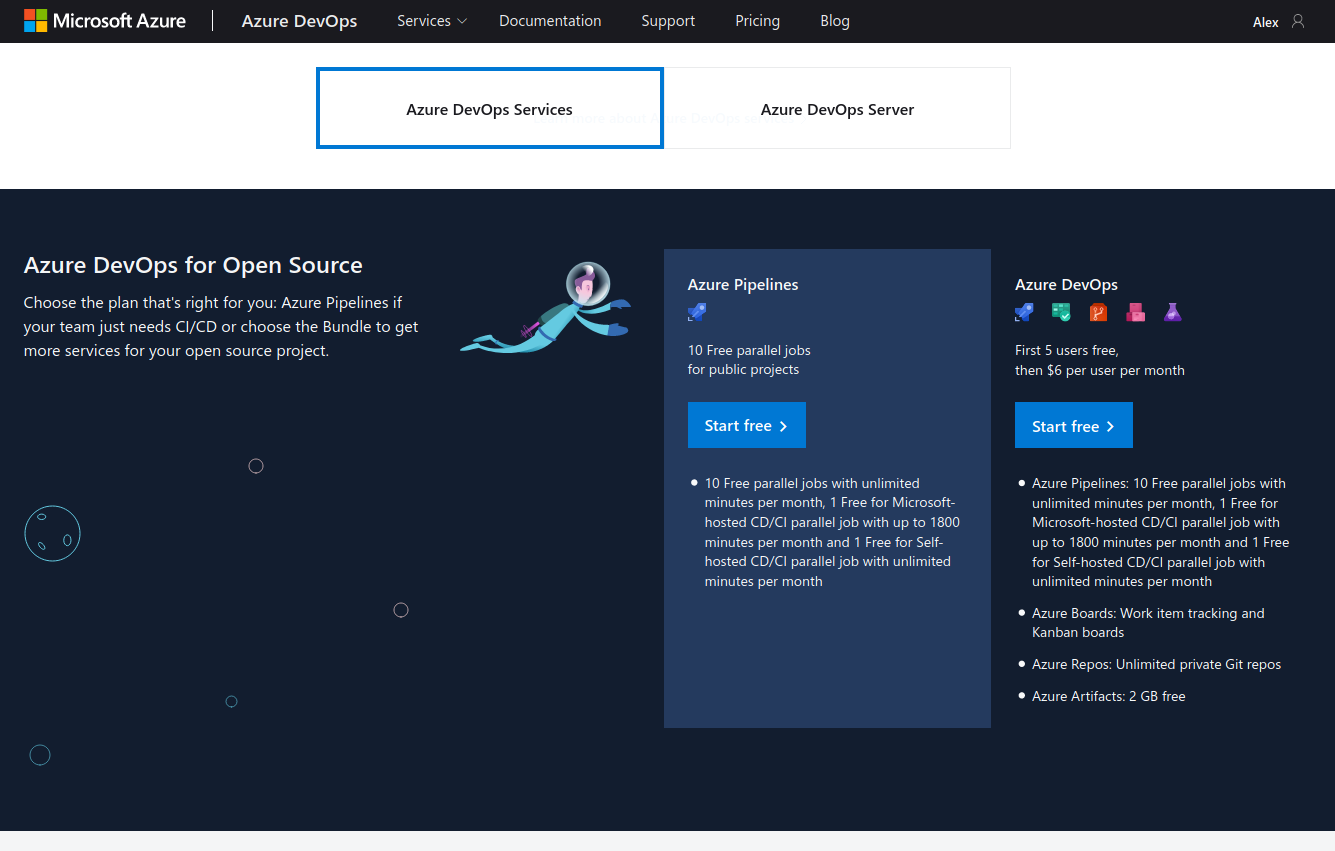
Firstly, an Azure account will be needed. If you are within the DataSHIELD team, it is also free because we are an open source project. Go to the link: https://azure.microsoft.com/en-us/pricing/details/devops/azure-devops-services/?nav=min . Scrolling half way down the page you will find the Azure DevOps for Open Source section. Click on the free one for just pipelines:
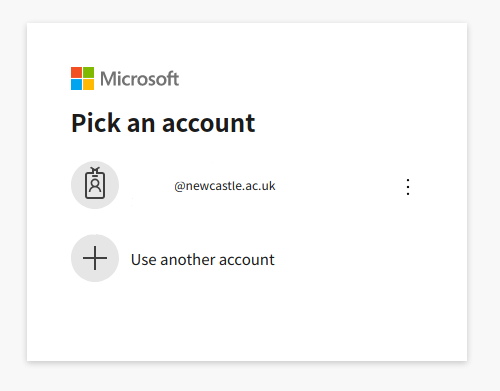
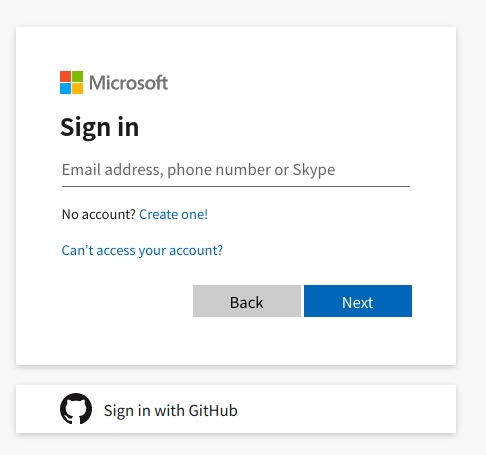
Next you will be prompted to select a microsoft account (if affiliated with Newcastle University, you will have one):
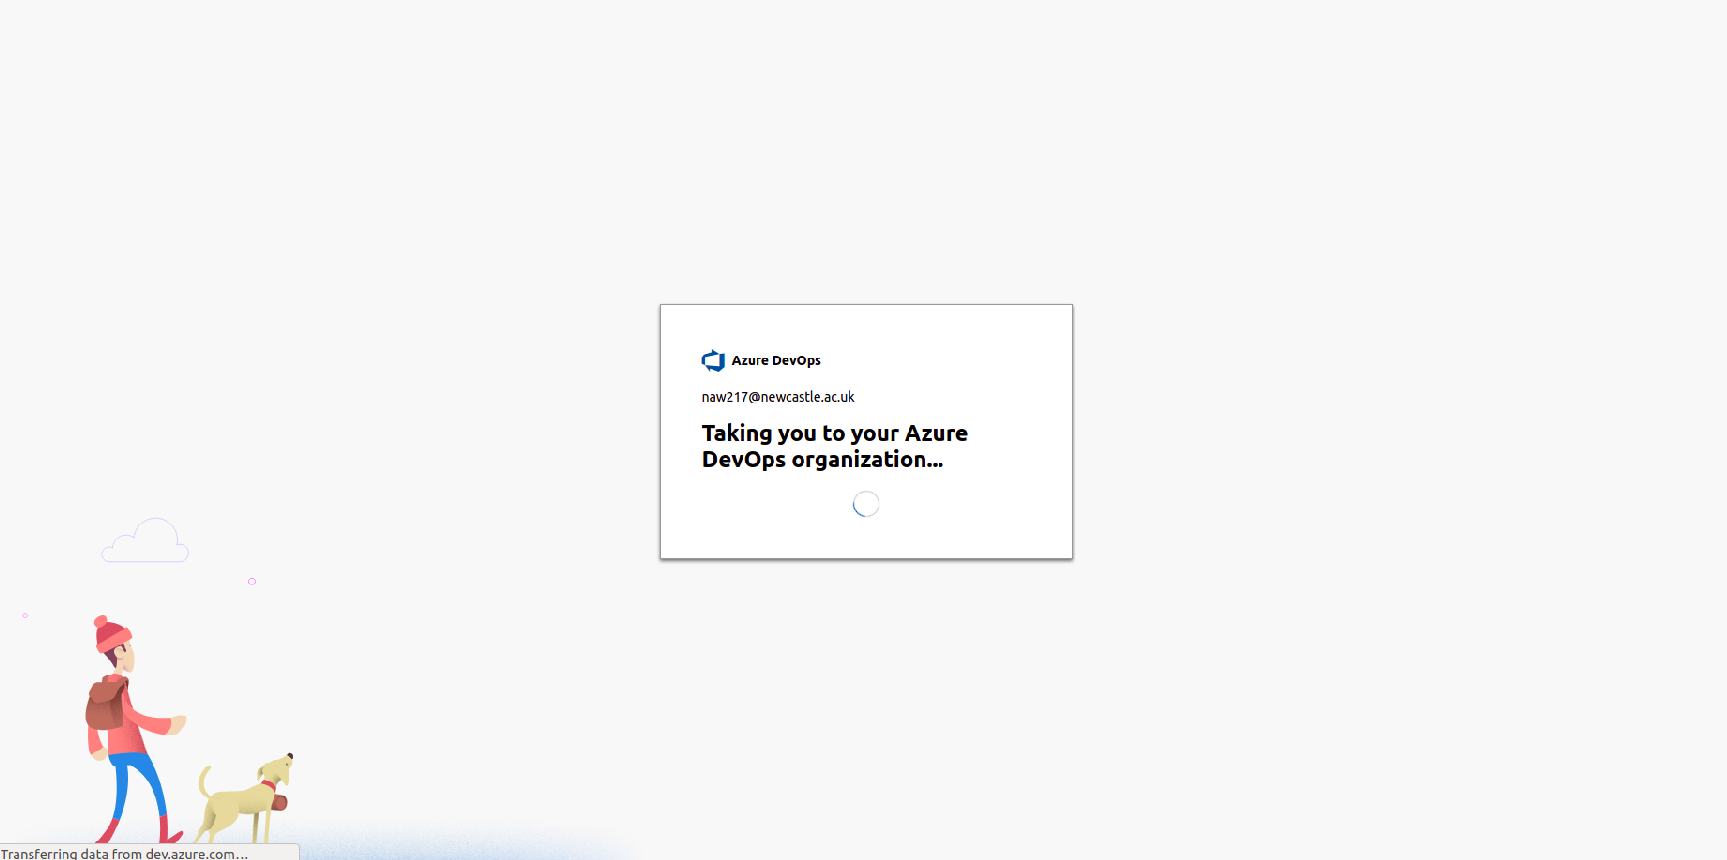
Once account is created, it will set up for you:
Then will present you with a window to “create project”:
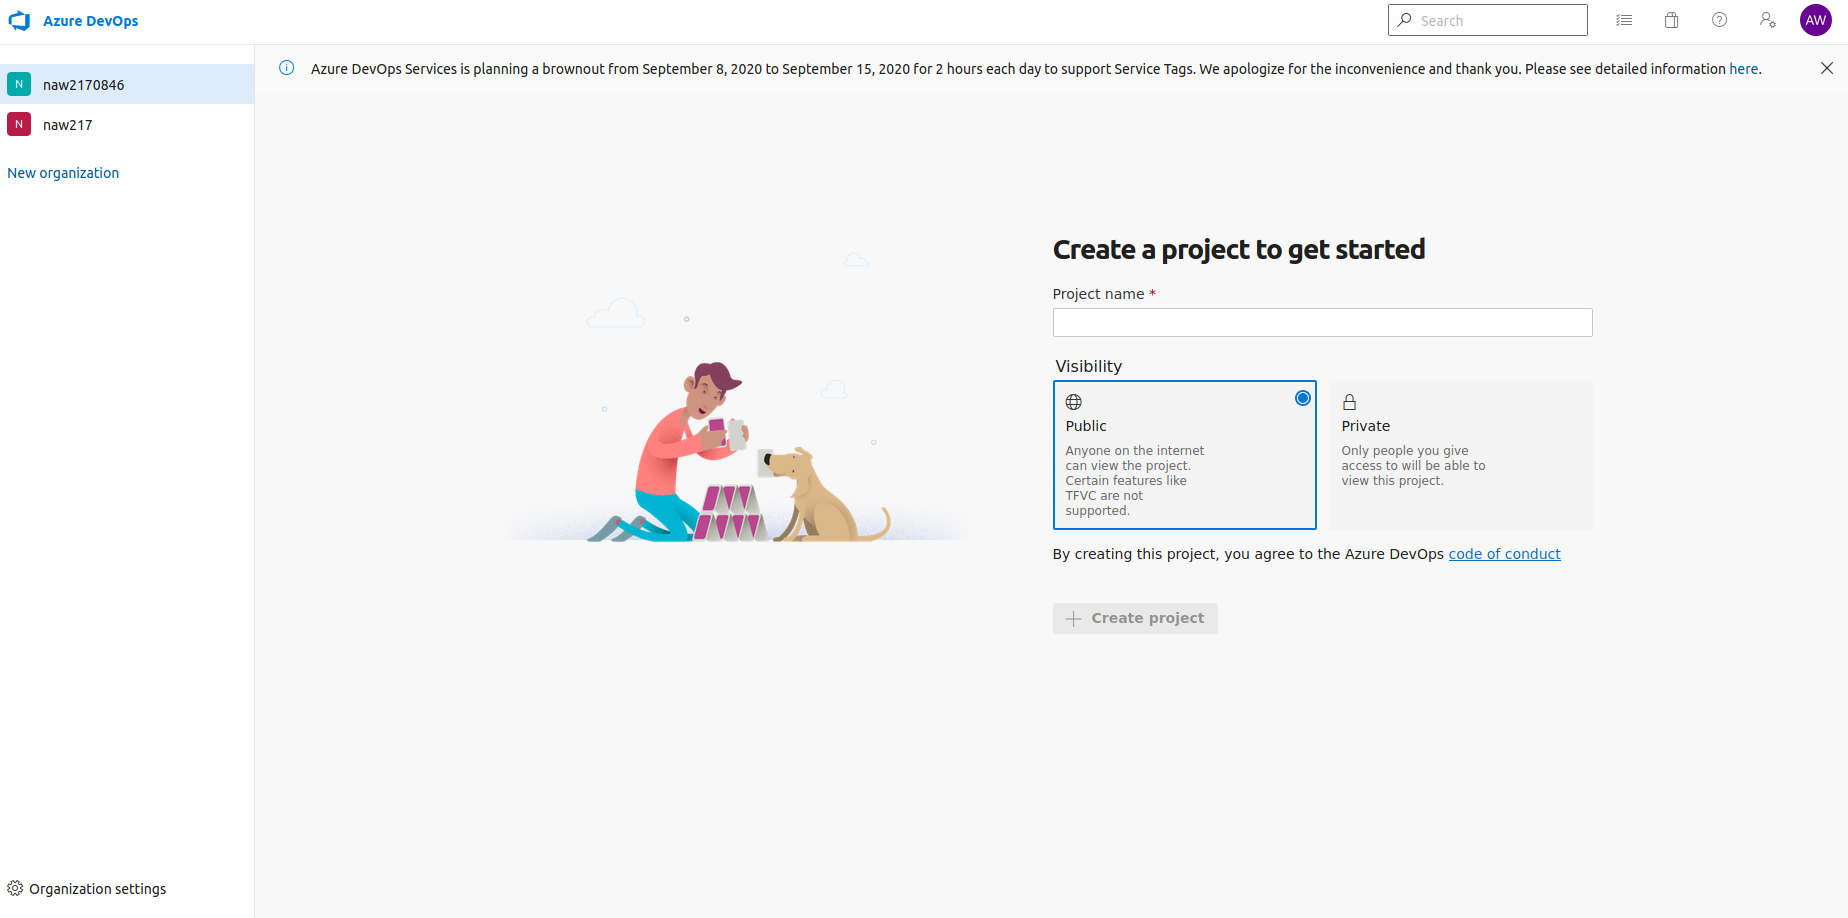
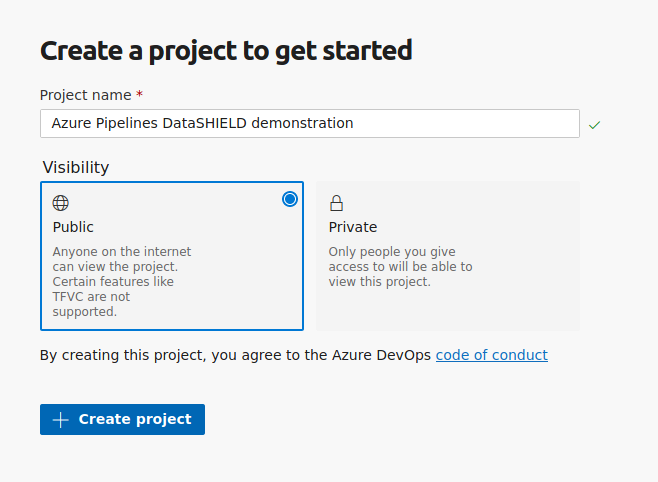
The project you create should be public, in order to let others see your test results and help you debug.
Once you have given the project a name you can proceed:
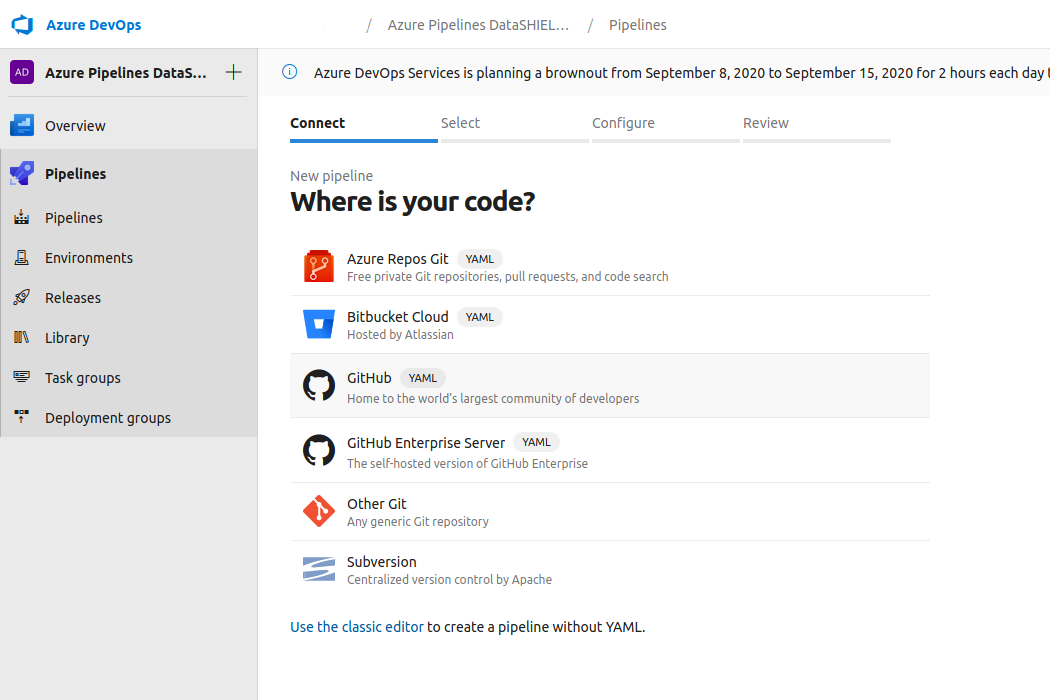
With the project now set up, you can connect your code to it, which should be in your fork of the github repo that you are working on:
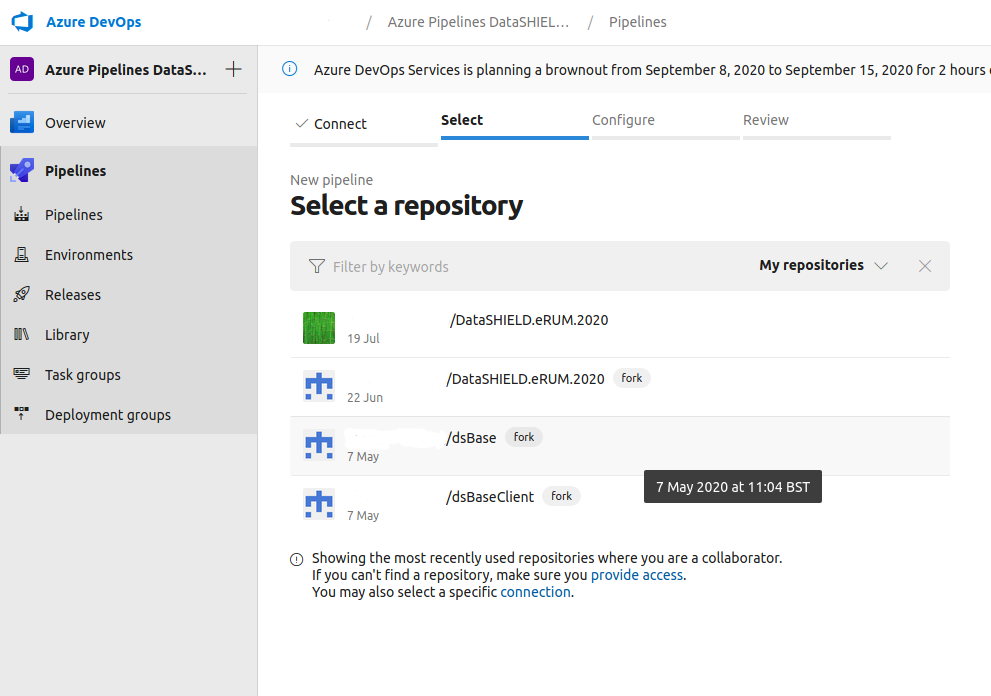
Next, select the repository from github that you want to be tested within the Continuous Integration framework:
Then pass through the configure stage and review; it should have automatically picked up the .yml file that is already in the repo that you forked:
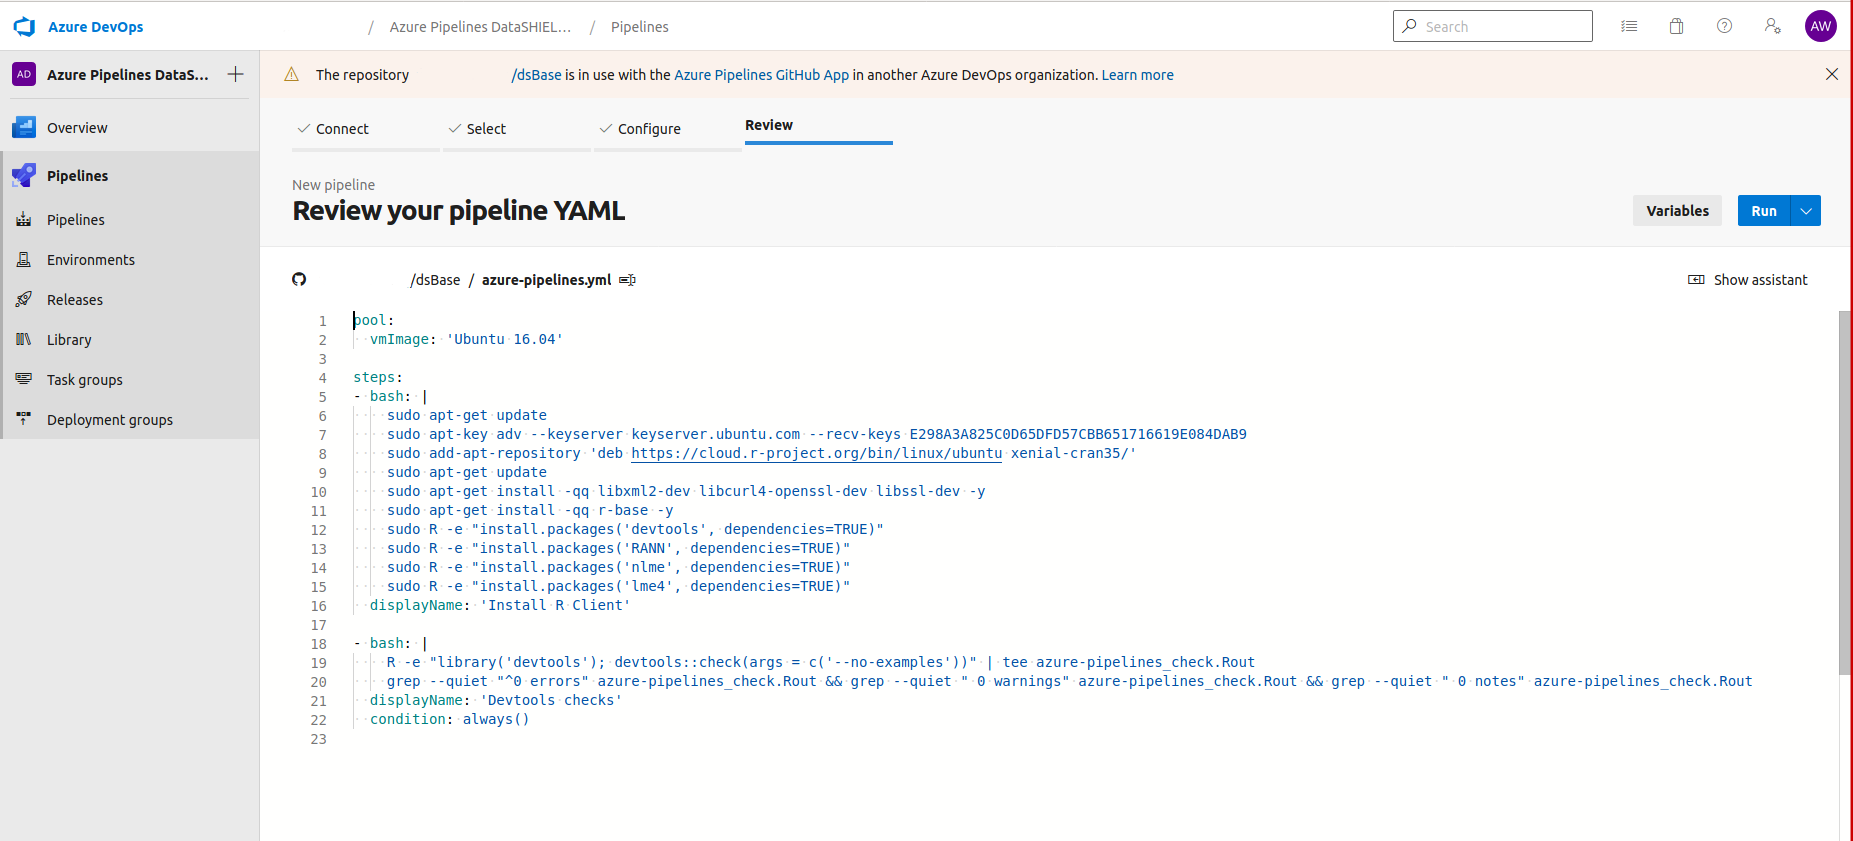
You can now click “Run”.
This will run a default branch of the project you are working on.
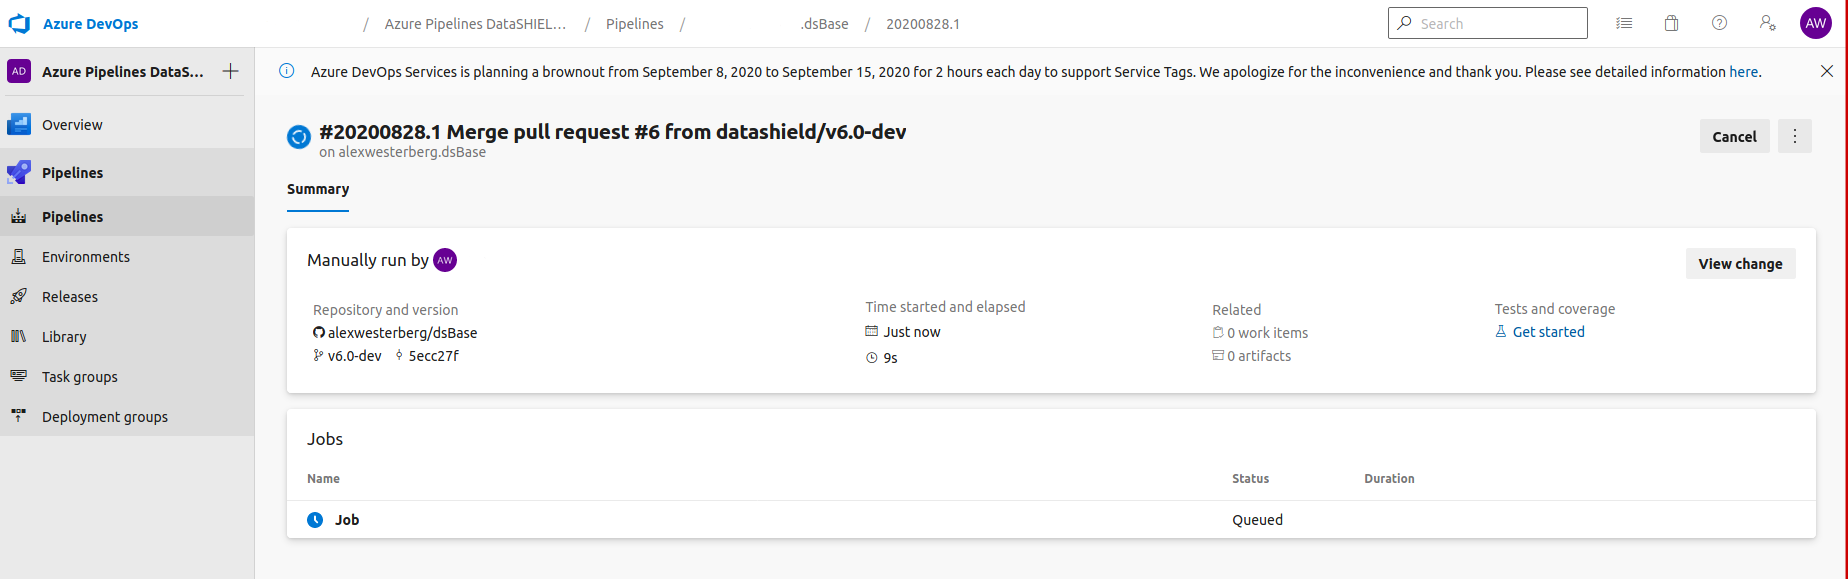
However if you try to run a different (e.g. -dev) branch of a project
Running a more recent branch than v6.0 will cause an error:
Selecting branch from dropdown:
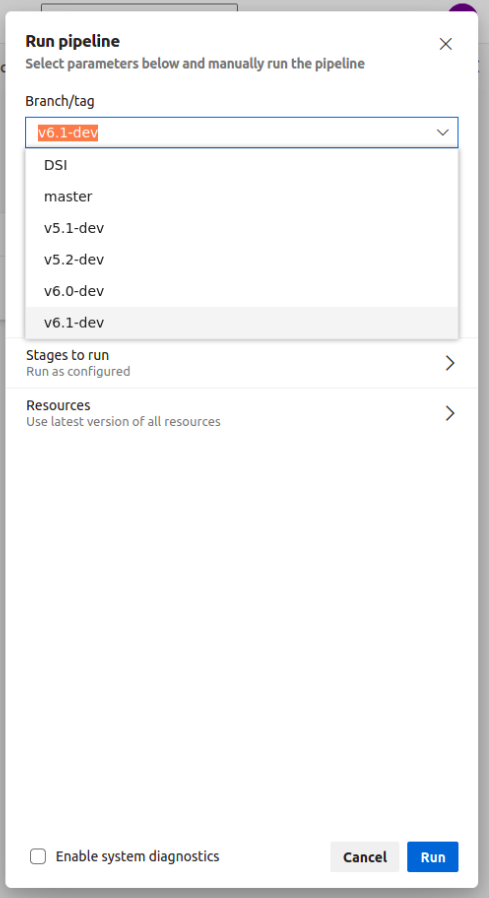
Then clicking “Run”:
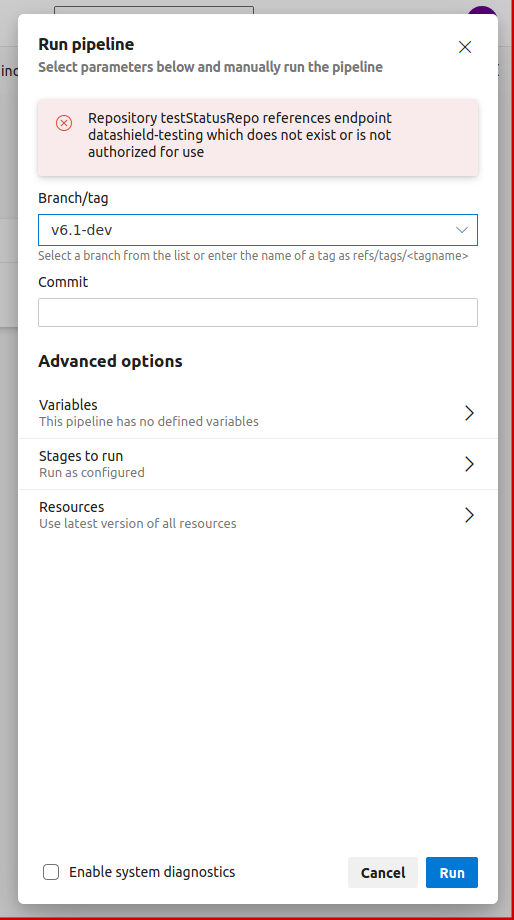
Solving the error in running recent branches:
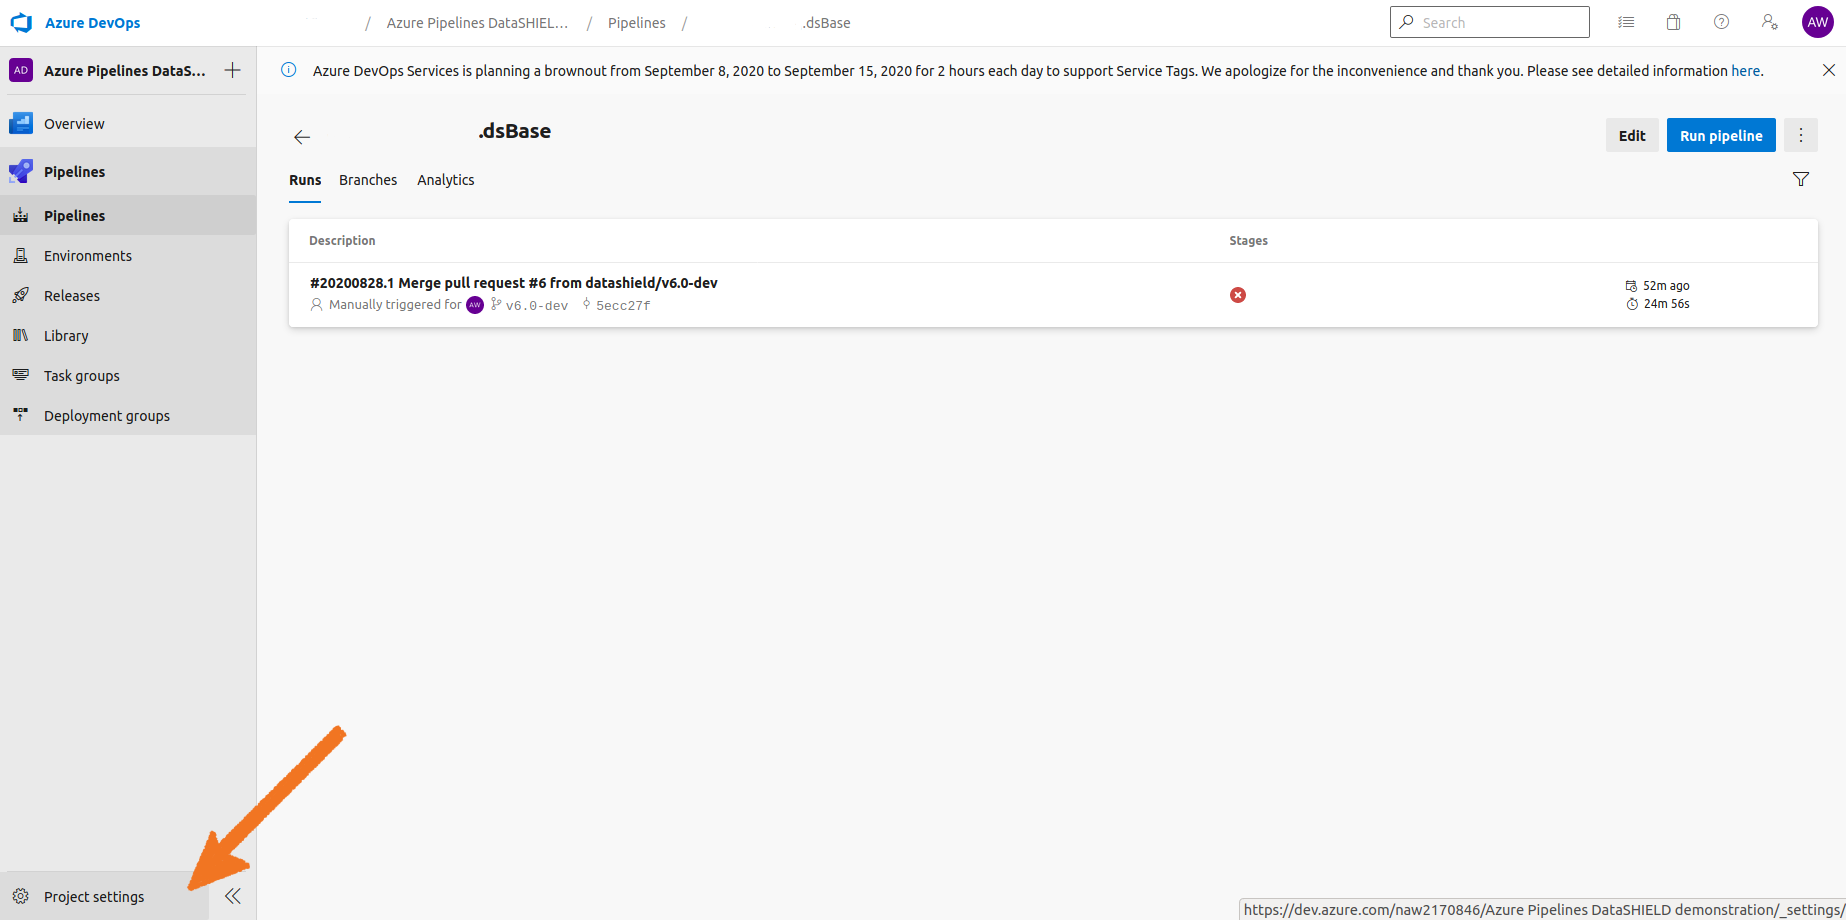
The only settings you should need to change in your account is to set up a service connection as defined here: https://docs.microsoft.com/en-us/azure/devops/pipelines/library/service-endpoints?view=azure-devops&tabs=yaml#sep-github . The next steps spell out how to change these settings:
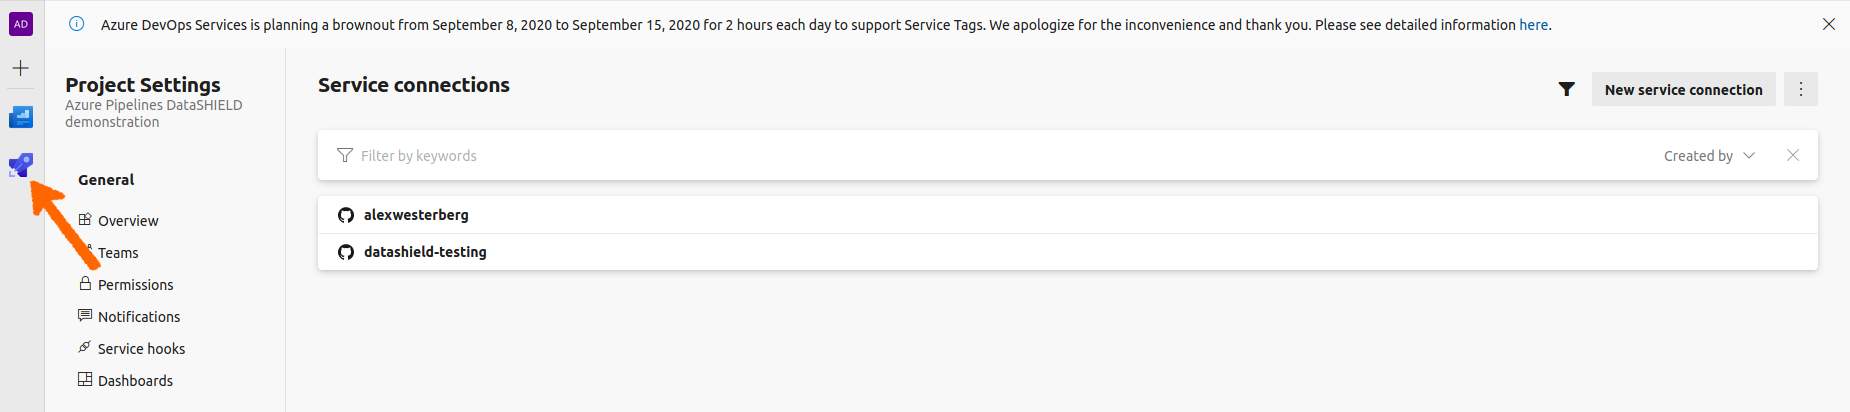
Select “Project Settings” in the bottom left corner:
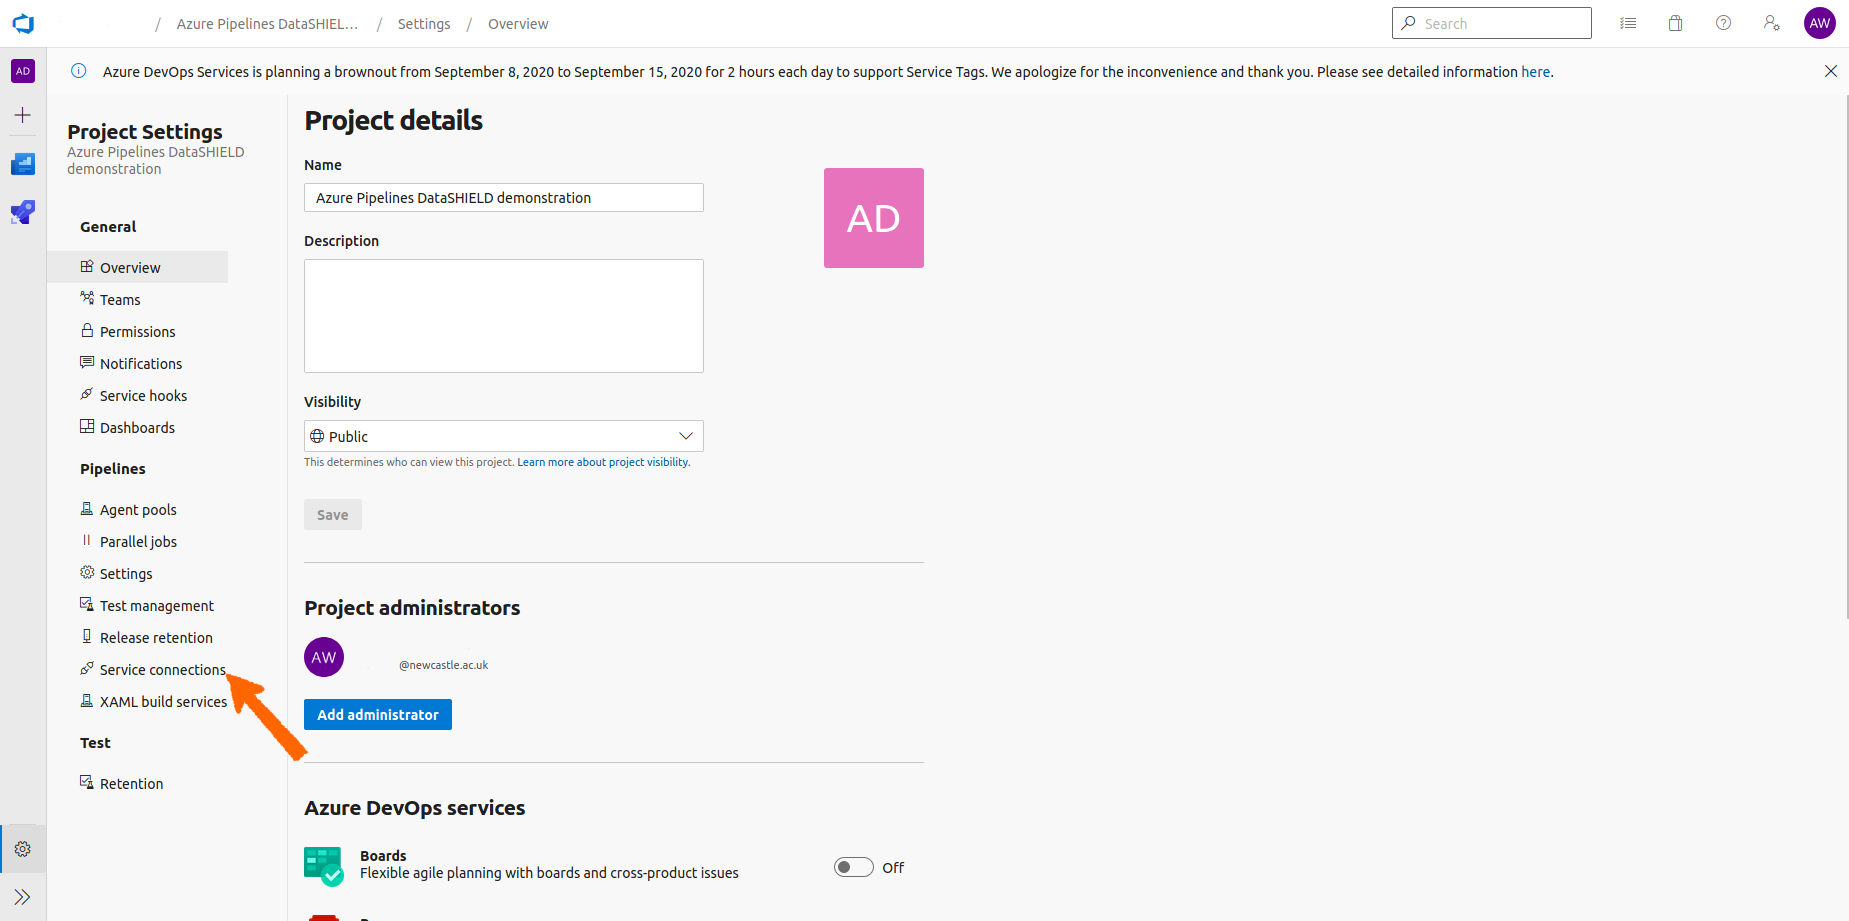
Select “Service Connections”:
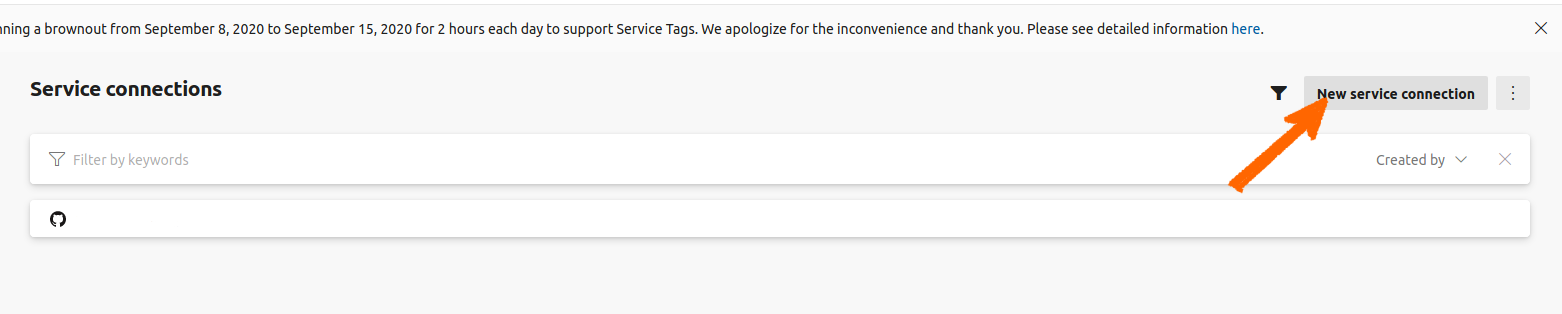
Select “New service connection”:
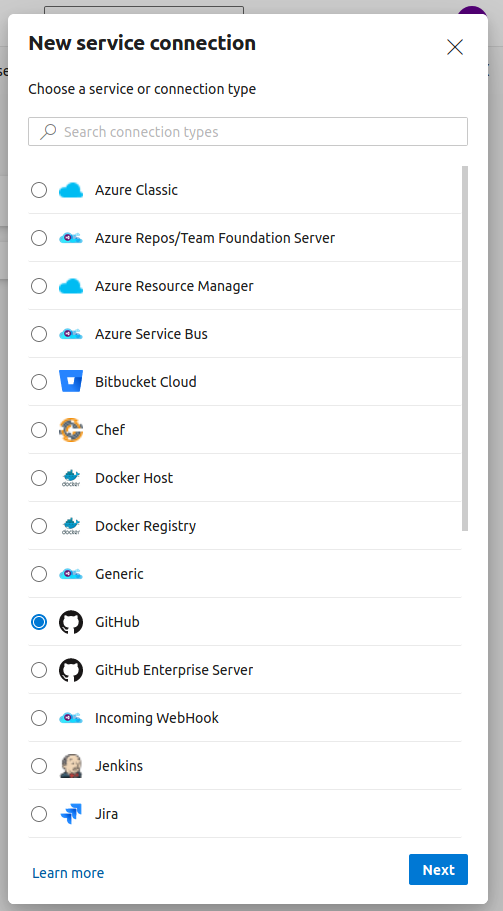
Select “Github”:
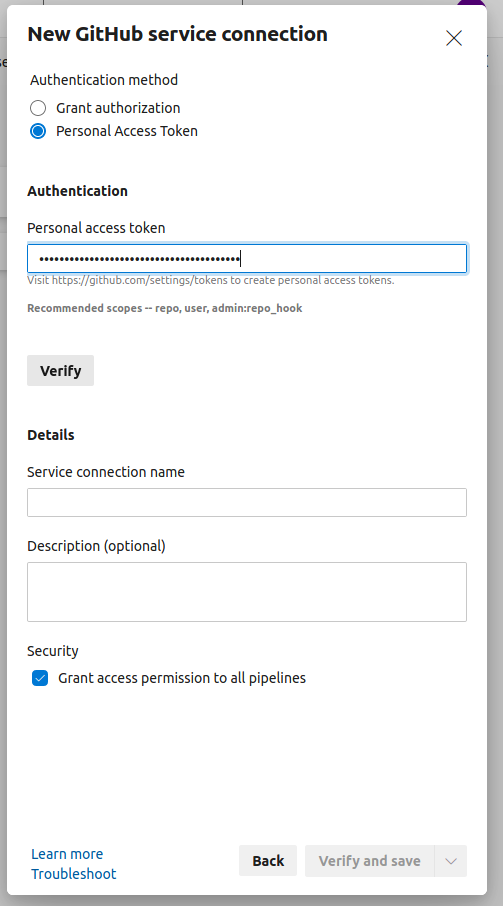
Select “Personal Access Token”:
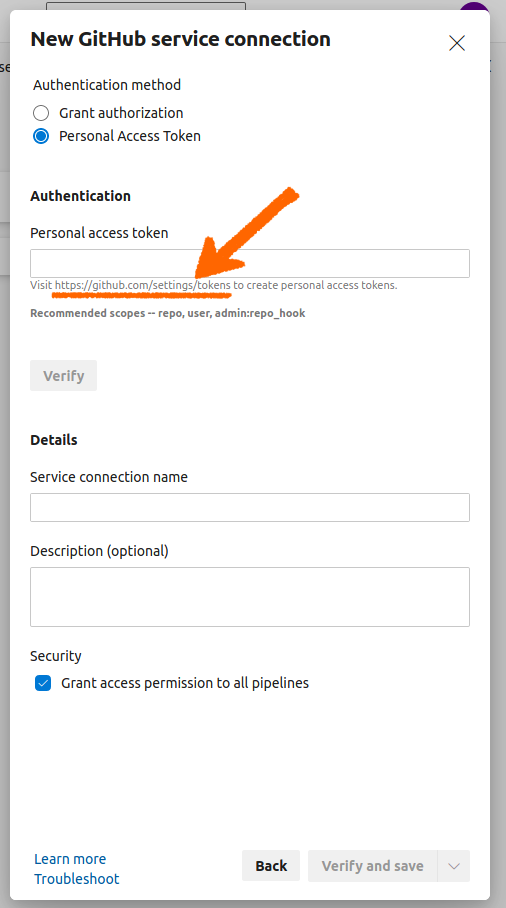
Then follow the link (highlighted) to github.com
Generate a new token:

Proceed through the github sign-in, then at the “New Personal Access Token” page, select the following settings:
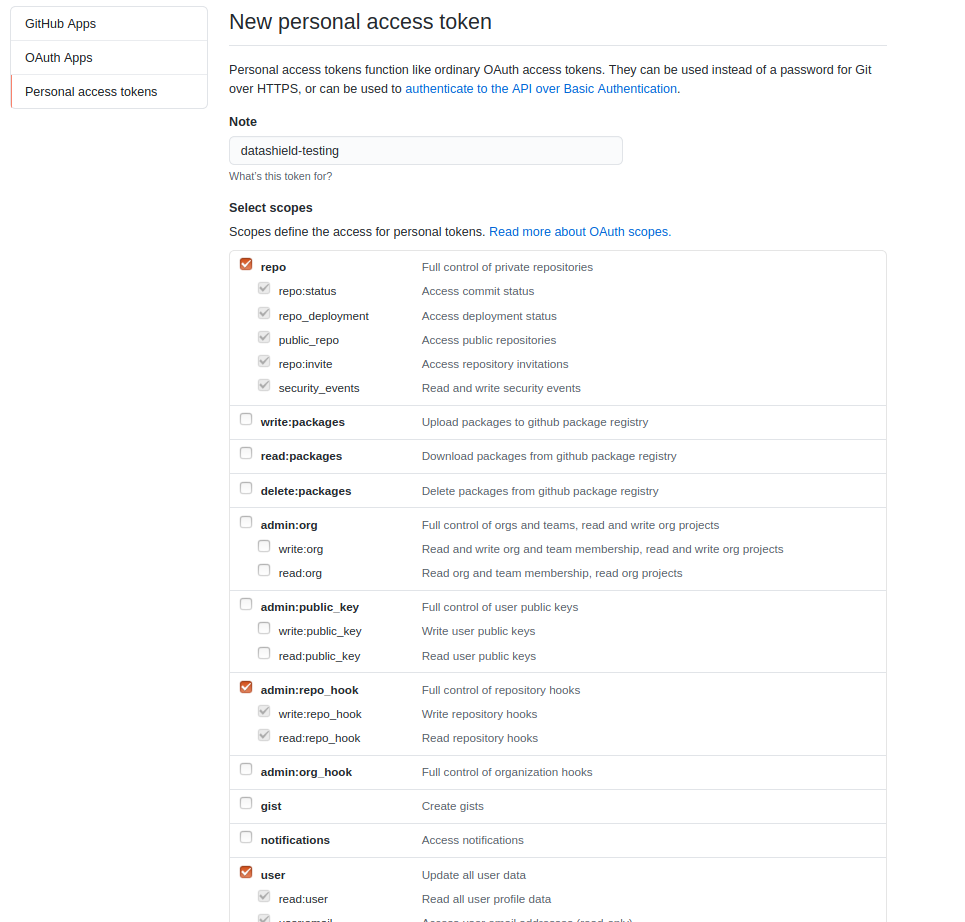
N.b.: The checkboxes to select are repo, admin:repo_hook and user. (These were suggested at the “Personal Access Token” stage, above).
Select the green “Generate Token” at the bottom, which will take you to the next page:
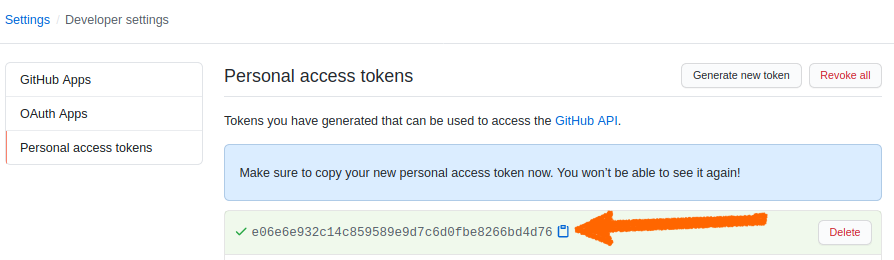
MAKE SURE to copy this token string at this stage, as there will not be a future opportunity to (a new one would have to be generated).
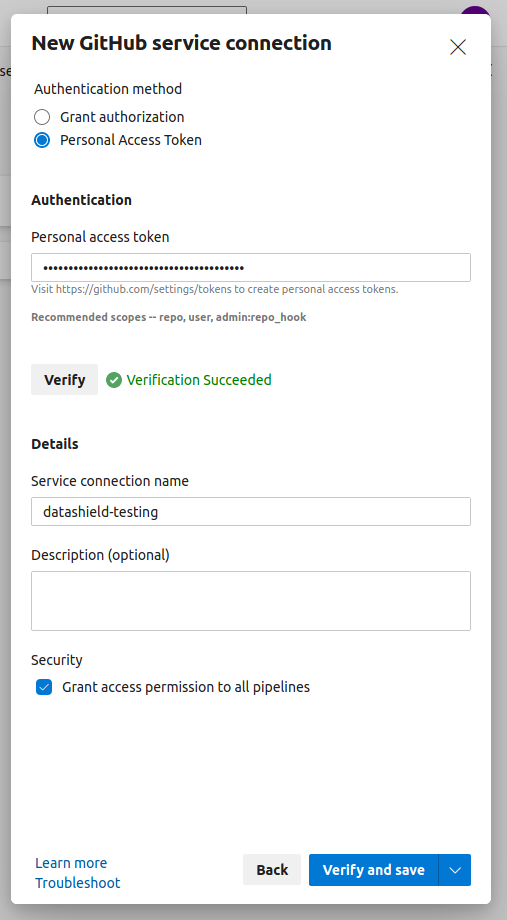
It is vital at this stage to name “Service connection name” to be datashield-testing.

A new Service Connection should now be successfully created (see above).
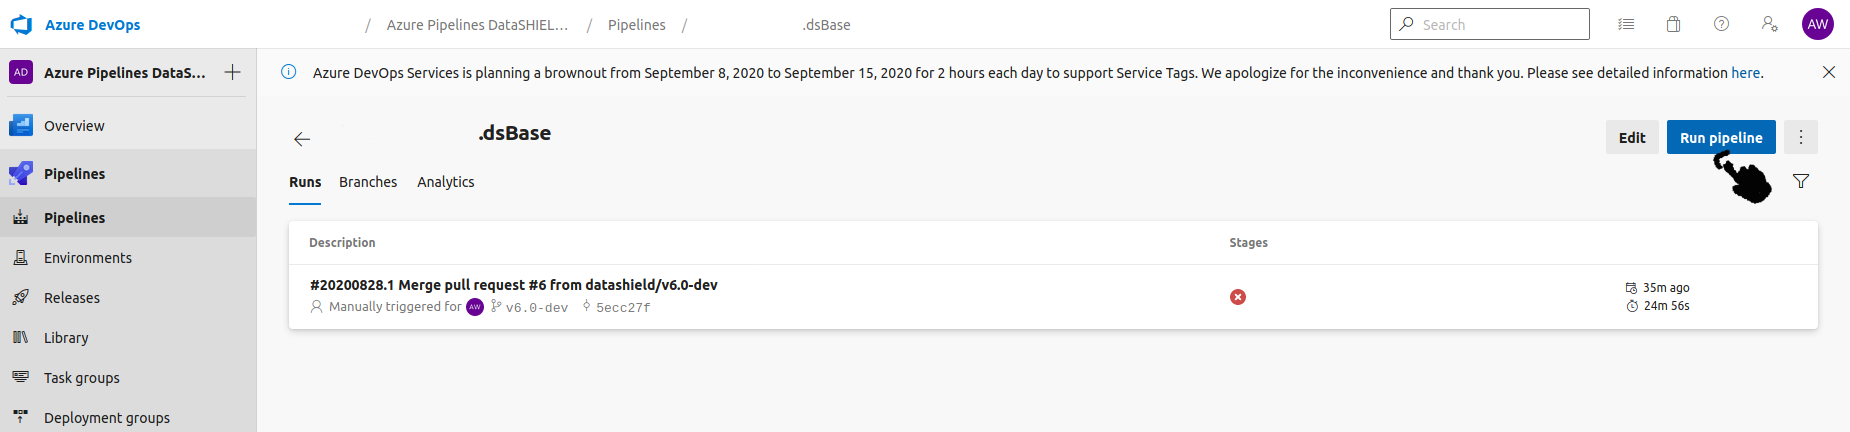
No more actions are needed now before retrying the steps to run a different branch as above. (Navigate back to the pipelines part of the website:)
Run pipeline:
Selecting branch from dropdown:
>>>>>>>STUART, is Olly’s comment below relevant?<<<<<<<
You will need to set the endpoints so they match those defined in the azure-pipelines.yml file. Pick 'grant authorization'.
